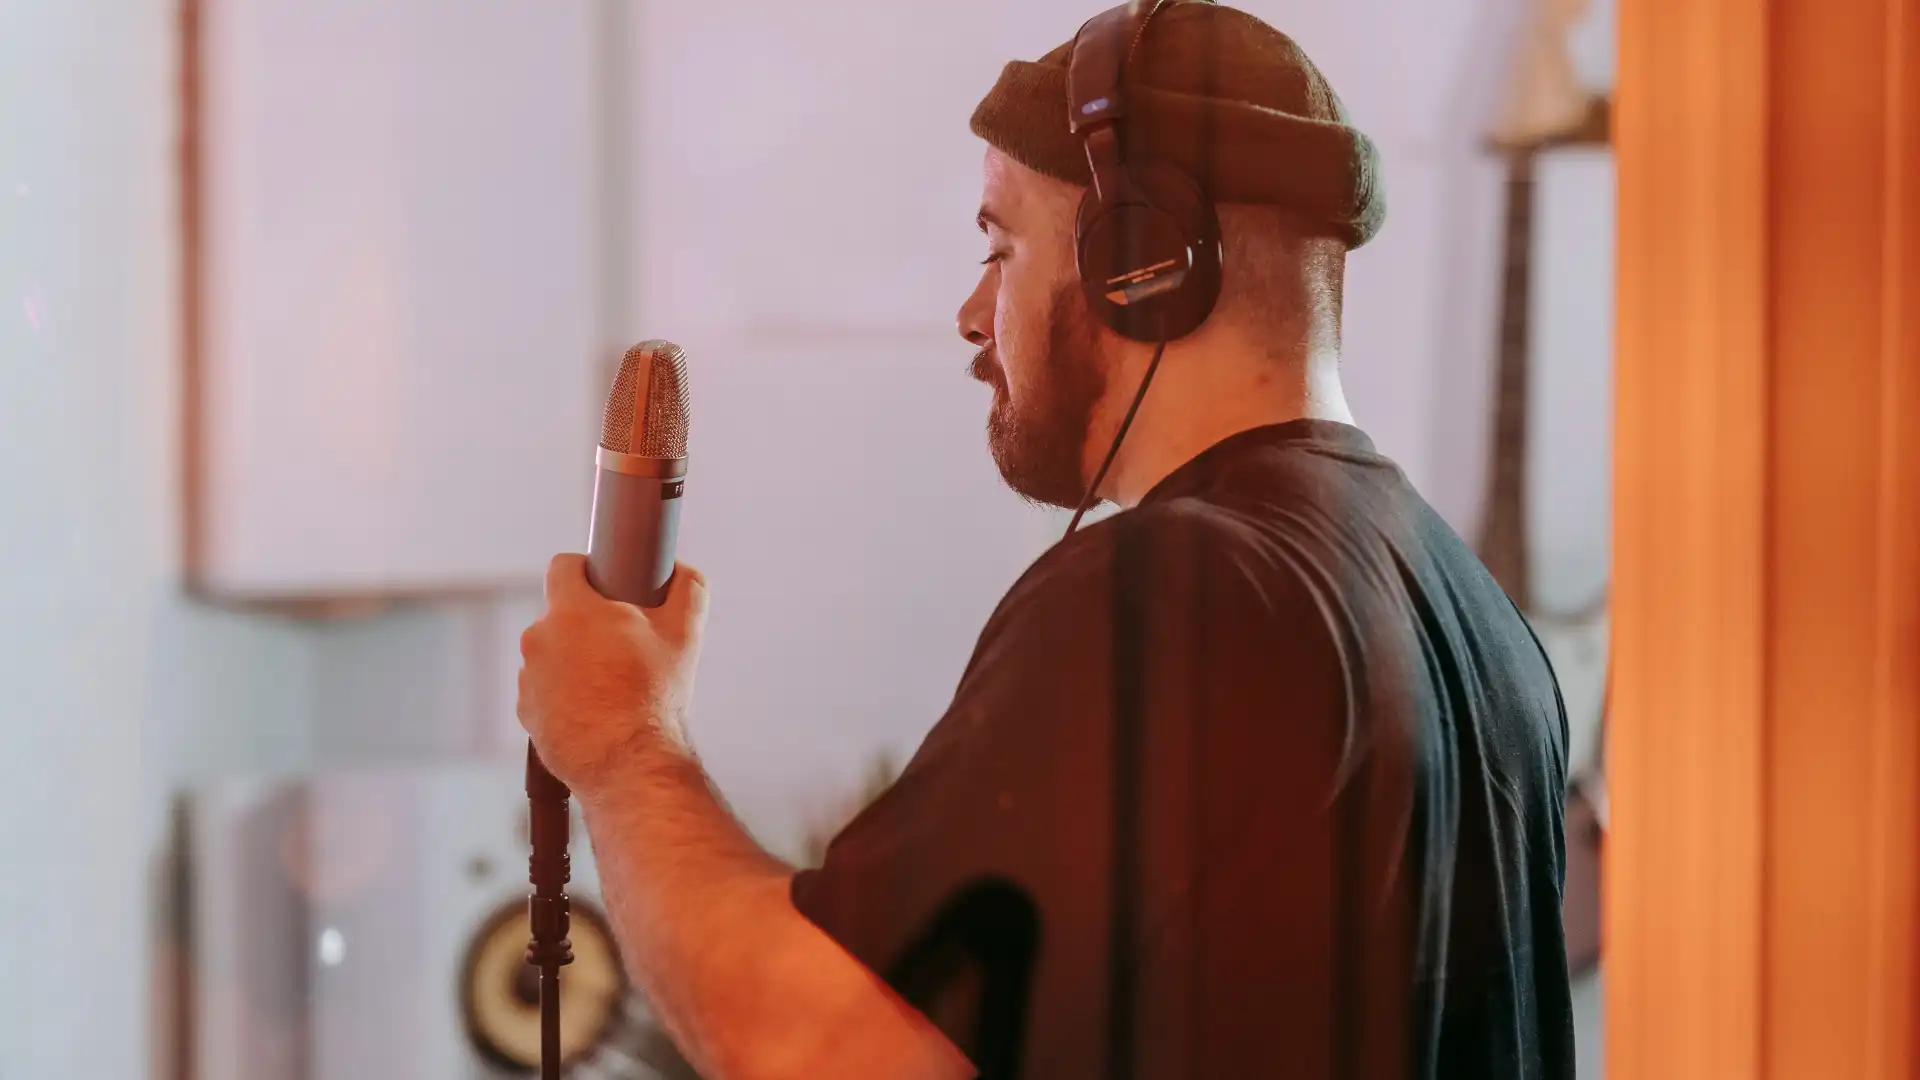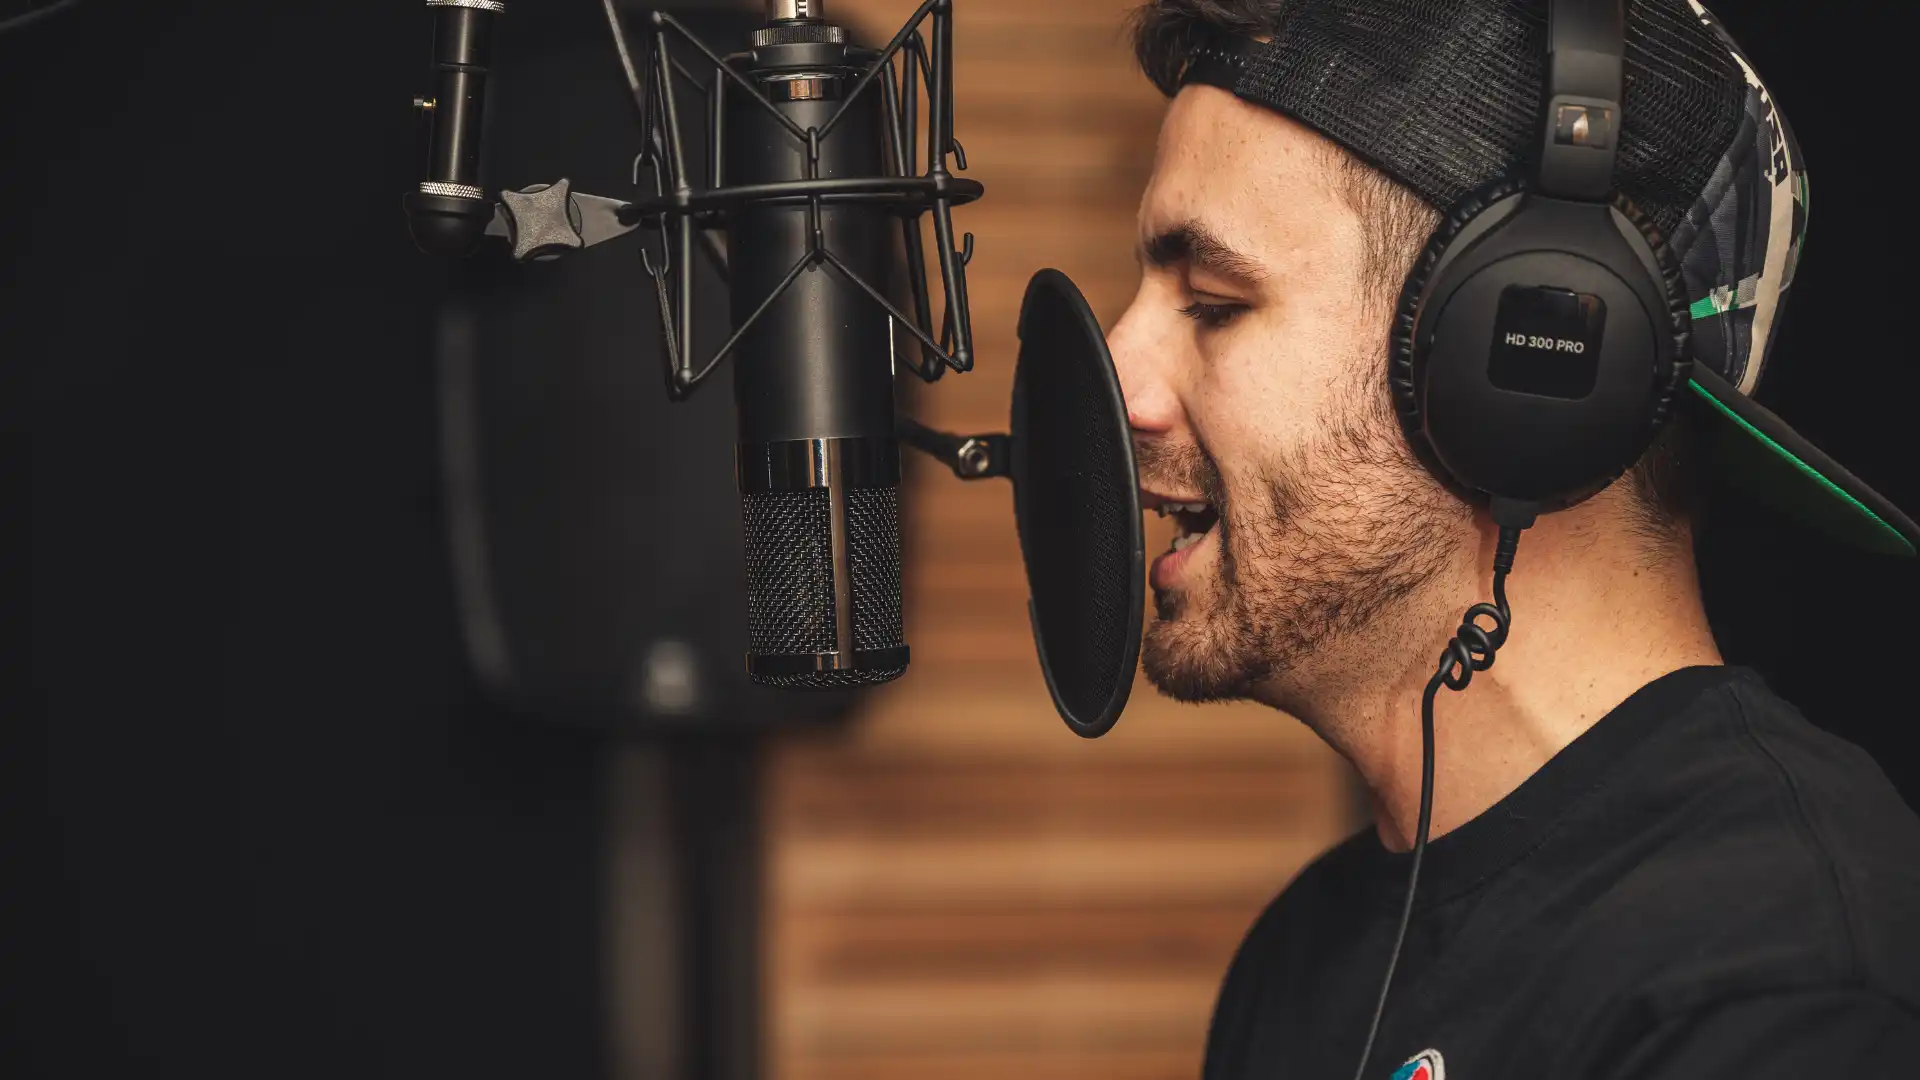
Recording vocals at home can be a rewarding experience, allowing you to create music, podcasts, voice-overs, and other vocal projects in a comfortable environment. With the right setup and recording techniques, you can achieve surprisingly clear and professional-sounding results without having access to a commercial recording studio.
The quality of your recording depends on more than just having an expensive microphone. Your room, microphone placement, recording levels, vocal technique, and editing process all contribute to the final sound. Here are essential strategies for recording better vocals at home.
1. Set Up Your Recording Space
Your recording environment has a major effect on vocal quality. A good microphone cannot completely eliminate the problems caused by excessive room noise, echo, or unwanted reflections.
- Choose a Quiet Room: Select a room away from traffic, appliances, conversations, and other sources of background noise. Record when your surroundings are naturally quiet whenever possible.
- Use Soft Furnishings: Curtains, carpets, rugs, couches, and other soft materials can help reduce excessive reflections. A room with some furniture is often better than a completely empty room.
- Use Acoustic Treatment Carefully: Acoustic panels or other appropriate treatment can help control reflections and improve clarity. Avoid covering every surface with foam without considering how the room actually sounds.
- Position Your Microphone Carefully: Avoid placing the microphone directly against a wall or in the center of a highly reflective space. Experiment with different positions while listening to test recordings.
2. Select the Right Microphone
The microphone is one of the most important pieces of equipment in a vocal recording setup. However, the most expensive microphone is not necessarily the best choice for every singer or recording environment.
- Understand Dynamic and Condenser Microphones: Condenser microphones are often sensitive and detailed, making them popular for studio vocals. Dynamic microphones can be less sensitive to room noise and may work well in untreated or noisier spaces.
- Choose Between USB and XLR: USB microphones connect directly to a computer and are convenient for simple setups. XLR microphones require an audio interface but can provide greater flexibility for a more expandable recording system.
- Use a Pop Filter: A pop filter helps reduce strong bursts of air created by sounds such as “P” and “B,” which can produce distracting low-frequency pops in recordings.
- Consider a Shock Mount: A shock mount can help reduce mechanical vibrations transferred to the microphone through the stand, although its usefulness depends on your particular setup.
3. Use an Audio Interface and Recording Software
A reliable recording chain allows the microphone signal to reach your computer cleanly and gives you control over recording quality. Your setup can be simple, but each component should work properly with the others.
- Choose an Appropriate Audio Interface: If you are using an XLR microphone, an audio interface provides the connection between the microphone and computer. Look for clean preamps, appropriate inputs, and controls that are easy to use.
- Select Recording Software: Digital audio workstations (DAWs) allow you to record, edit, and mix vocals. Programs such as Audacity, GarageBand, and Pro Tools offer different levels of features and complexity.
- Set the Input Level Correctly: Avoid recording with the input gain too high. A signal that clips during recording can produce permanent distortion that cannot be completely fixed during editing.
- Record at a Suitable Quality: Use a reasonable sample rate and bit depth supported by your equipment and software. For most home recording projects, standard studio settings are more than sufficient.
4. Use Proper Vocal Recording Techniques
Even with good equipment, poor recording technique can affect the final result. The goal is to create a consistent and comfortable performance while keeping the microphone signal stable.
- Warm Up Your Voice: Perform gentle vocal warm-ups before recording, especially when singing demanding passages. Avoid pushing your voice beyond a comfortable range.
- Maintain a Consistent Distance: Keep a relatively consistent distance from the microphone so that your vocal volume and tone remain more stable throughout the performance.
- Control Your Microphone Angle: Slightly adjusting the angle of the microphone can sometimes help manage harsh consonants or excessive breath sounds. Test different positions rather than assuming one position works for every voice.
- Avoid Moving Excessively: Excessive movement can cause changes in volume and tone. Try to remain comfortably positioned while allowing natural movement during performance.
5. Control Plosives and Sibilance
Certain speech sounds can create problems that become especially noticeable after recording. Managing them during recording is easier than trying to fix severe problems during mixing.
- Control Plosive Sounds: Use a pop filter and avoid singing directly into the microphone capsule at very close range. Slightly changing the microphone angle can also help.
- Manage Sibilance: Sounds such as “S,” “SH,” and “CH” can become excessively sharp. Adjusting microphone placement and angle may reduce harshness.
- Avoid Singing Too Close to the Microphone: Very close recording can increase bass response and make plosives more noticeable. Find a distance that gives you a clear and natural sound.
6. Record Multiple Takes
Even professional singers often record several takes before choosing the final performance. Multiple takes give you options and reduce the pressure to achieve perfection in a single recording.
- Record Complete Takes: When possible, record the entire song or passage rather than stopping after every mistake. This helps preserve the natural flow and emotion of the performance.
- Mark Strong Takes: Keep track of your best performances so you can quickly find them during editing.
- Try Different Interpretations: Record variations in dynamics, tone, phrasing, or emotion when appropriate. This gives you more creative choices during the editing process.
7. Edit Your Vocal Recordings
Editing helps turn raw recordings into organized and usable vocal tracks. However, editing should improve the performance without removing its natural character.
- Remove Unwanted Noise: Carefully remove distracting sounds, accidental noises, and unnecessary sections between vocal phrases.
- Edit Mistakes Carefully: Small timing or performance problems can sometimes be corrected, but excessive editing can make vocals sound unnatural.
- Manage Breaths Naturally: Some breaths can be reduced when they are distracting, but removing every breath may make the performance sound artificial. Natural breathing can contribute to realism and expression.
8. Apply EQ and Compression
After editing, basic mixing tools can help shape the vocal and make it sit properly within the recording. These tools should be used to support the voice rather than drastically change it.
- Use EQ: Equalization can help remove unnecessary low-frequency rumble and balance excessive or missing frequencies. Make changes gradually and listen carefully.
- Apply Compression: Compression reduces excessive differences between louder and quieter parts of a recording. This can help create a more consistent vocal level.
- Avoid Overprocessing: Excessive EQ or compression can make vocals sound thin, harsh, dull, or unnatural. Small adjustments are often more effective than extreme settings.
9. Add Reverb and Other Effects
Effects can make a vocal recording sound more polished and help it fit into the overall production. However, effects should complement the voice rather than hide problems in the original recording.
- Use Reverb for Space: A small amount of reverb can create a sense of space and prevent vocals from sounding unnaturally dry.
- Experiment With Delay: A subtle delay can add depth and create interesting vocal effects without overwhelming the main performance.
- Match Effects to the Style: The amount and type of effects should fit the song, genre, or project. A soft acoustic song may require a different treatment from a heavily produced pop track.
10. Monitor Your Recording Carefully
Good monitoring helps you identify problems before they become part of the final recording. Listening carefully while recording and mixing can save considerable time later.
- Use Headphones When Recording: Closed-back headphones can help you hear the backing track while reducing the amount of sound picked up by the microphone.
- Listen for Clipping and Noise: Watch your recording levels and listen for distortion, background noise, electrical hum, or other unwanted sounds.
- Check Your Recording on Different Devices: After mixing, listen through headphones, speakers, and other common playback systems to see whether the vocal remains clear and balanced.
11. Keep Your Recording Setup Consistent
Consistency becomes particularly important when recording songs, episodes, or voice-over projects over multiple sessions. A repeatable setup makes it easier to maintain a similar sound.
- Mark Your Microphone Position: Keep track of your microphone height, distance, and angle so you can recreate the setup later.
- Keep Similar Room Conditions: Try to record in the same room and under similar conditions whenever possible.
- Save Your Recording Settings: Keep notes about your microphone, interface gain, software settings, and other important details. This makes future sessions easier to reproduce.
12. Avoid Common Home Recording Mistakes
Many home recording problems come from simple mistakes rather than inadequate equipment. Recognizing these problems can help you improve your results quickly.
- Do Not Record Too Loud: Increasing the microphone gain excessively does not make a recording more professional. It can instead cause clipping and distortion.
- Do Not Rely Entirely on Plugins: Editing and mixing tools cannot completely repair a poorly recorded vocal. Start by improving the room, microphone position, performance, and recording levels.
- Do Not Constantly Change Your Setup: Experimentation is useful, but changing several variables at once makes it difficult to determine what actually improved or damaged the recording.
Conclusion
Recording professional-quality vocals at home is possible when you focus on the entire recording process rather than relying on expensive equipment alone. A quiet and controlled recording space, suitable microphone, proper recording levels, consistent technique, and thoughtful editing can make a significant difference.
The most important goal is to capture a clean and natural performance from the beginning. Once you have a strong raw recording, mixing tools such as EQ, compression, reverb, and delay can enhance the vocal without having to compensate for major recording problems.
Key Takeaways:
- Choose the quietest and most controlled recording space available.
- Select a microphone that matches your voice, room, and recording setup.
- Maintain proper microphone distance and recording levels.
- Record multiple takes and preserve the natural character of your performance.
- Use EQ, compression, and effects carefully during mixing.
- Monitor your recordings for noise, distortion, and unwanted sounds.
- Focus on getting a clean recording first; plugins cannot completely fix poor source audio.
Enhance your vocal recording skills with the Juilliard Voice Performance Fundamentals online course.